


This 1 Trick Will Make Your iPhone Photos 10x Better
A simple photography principle that instantly makes every shot look intentional — no fancy gear required.

I was on X recently, when I saw a user asking how to take better photos with an iPhone.
I casually replied:
“Just understand the rule of thirds and you’ll be golden.”
And included this photo from Arches National Park.
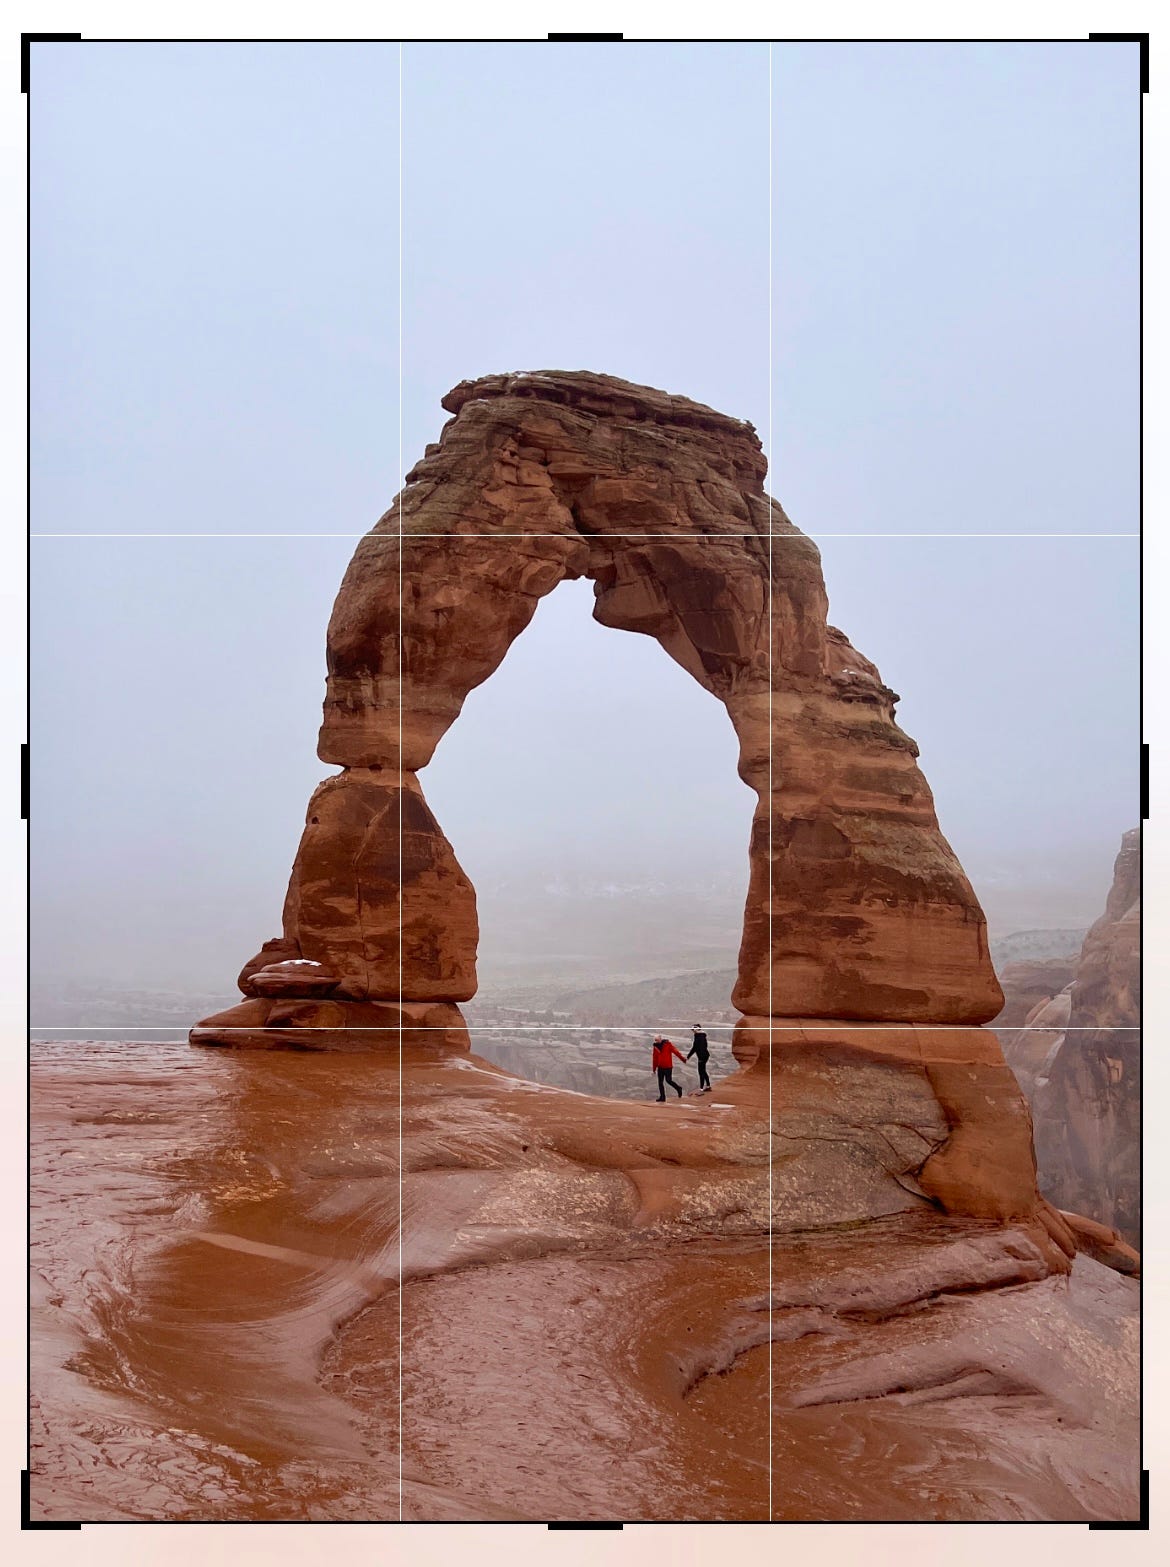
Unexpectedly, that little reply resonated—130,000+ views later, I realized just how helpful a photography tip can be.
So let's dive quickly into this game-changing trick.
What is the Rule of Thirds?
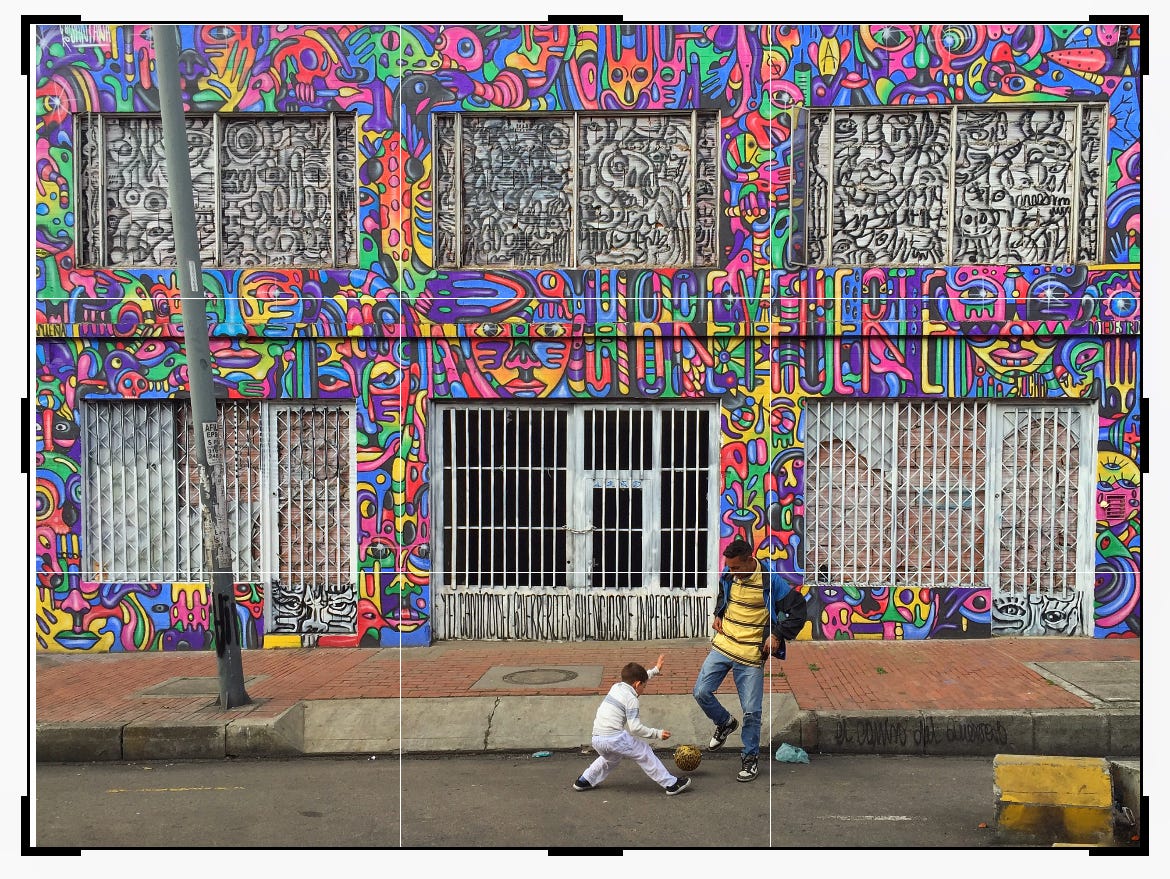
The rule of thirds is a photographic principle that divides your image into thirds horizontally and vertically, creating nine equal segments. Imagine a hashtag #️⃣ overlaying your photo.
By positioning your subject along these gridlines or preferably at their intersections, your images will likely feel more interesting, engaging, and professional.
And it applies to all photos — not just those shot on an iPhone or Android.
Why It Works
Our eyes naturally gravitate towards where these lines intersect, as well as along the lines themselves. This makes photos composed with this grid instantly feel balanced and intentional.
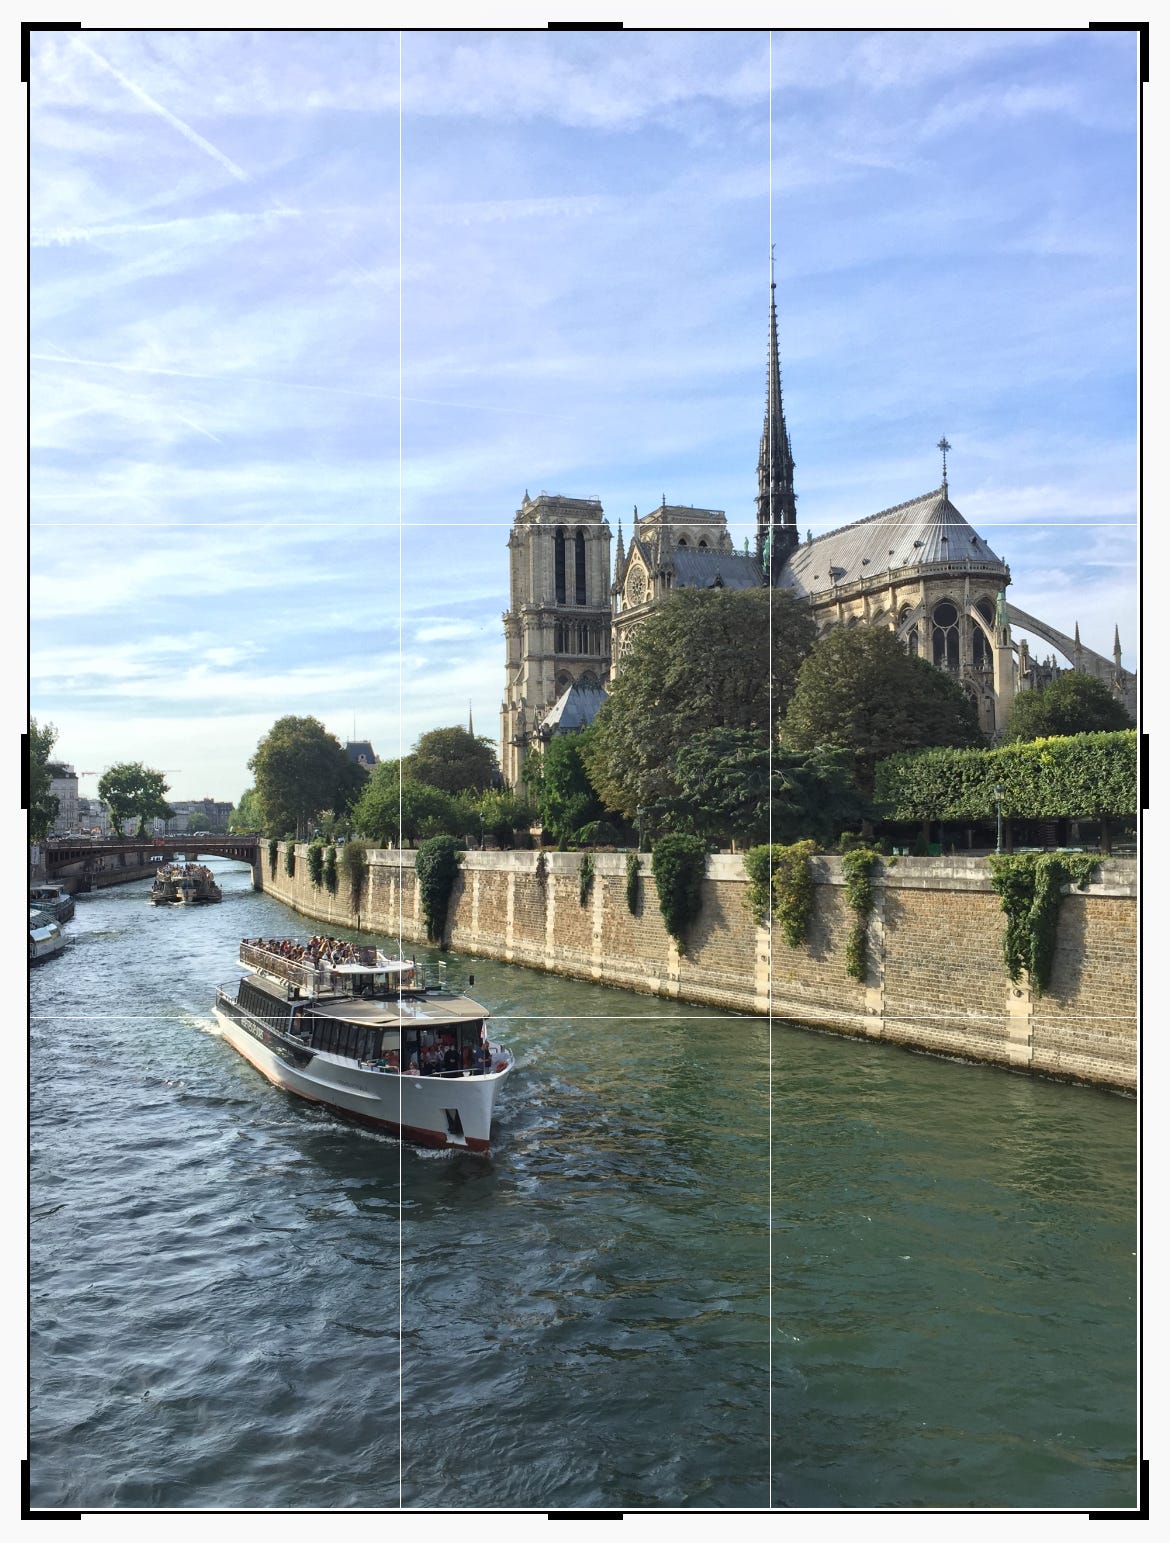
Below is a photo I took in Paris of a boat on the River Seine. As you can see the boat is right along the intersecting bottom left point, while the spire of Notre Dame is on the top left intersecting point.
We’re Not After Perfection
Photography is an art, not a science. For example in the image below, I am not aligned perfectly with the left line of the rule of thirds. I am a bit off from it on the left. But the image is still beautiful. The Flatirons and the scenery are stunning.

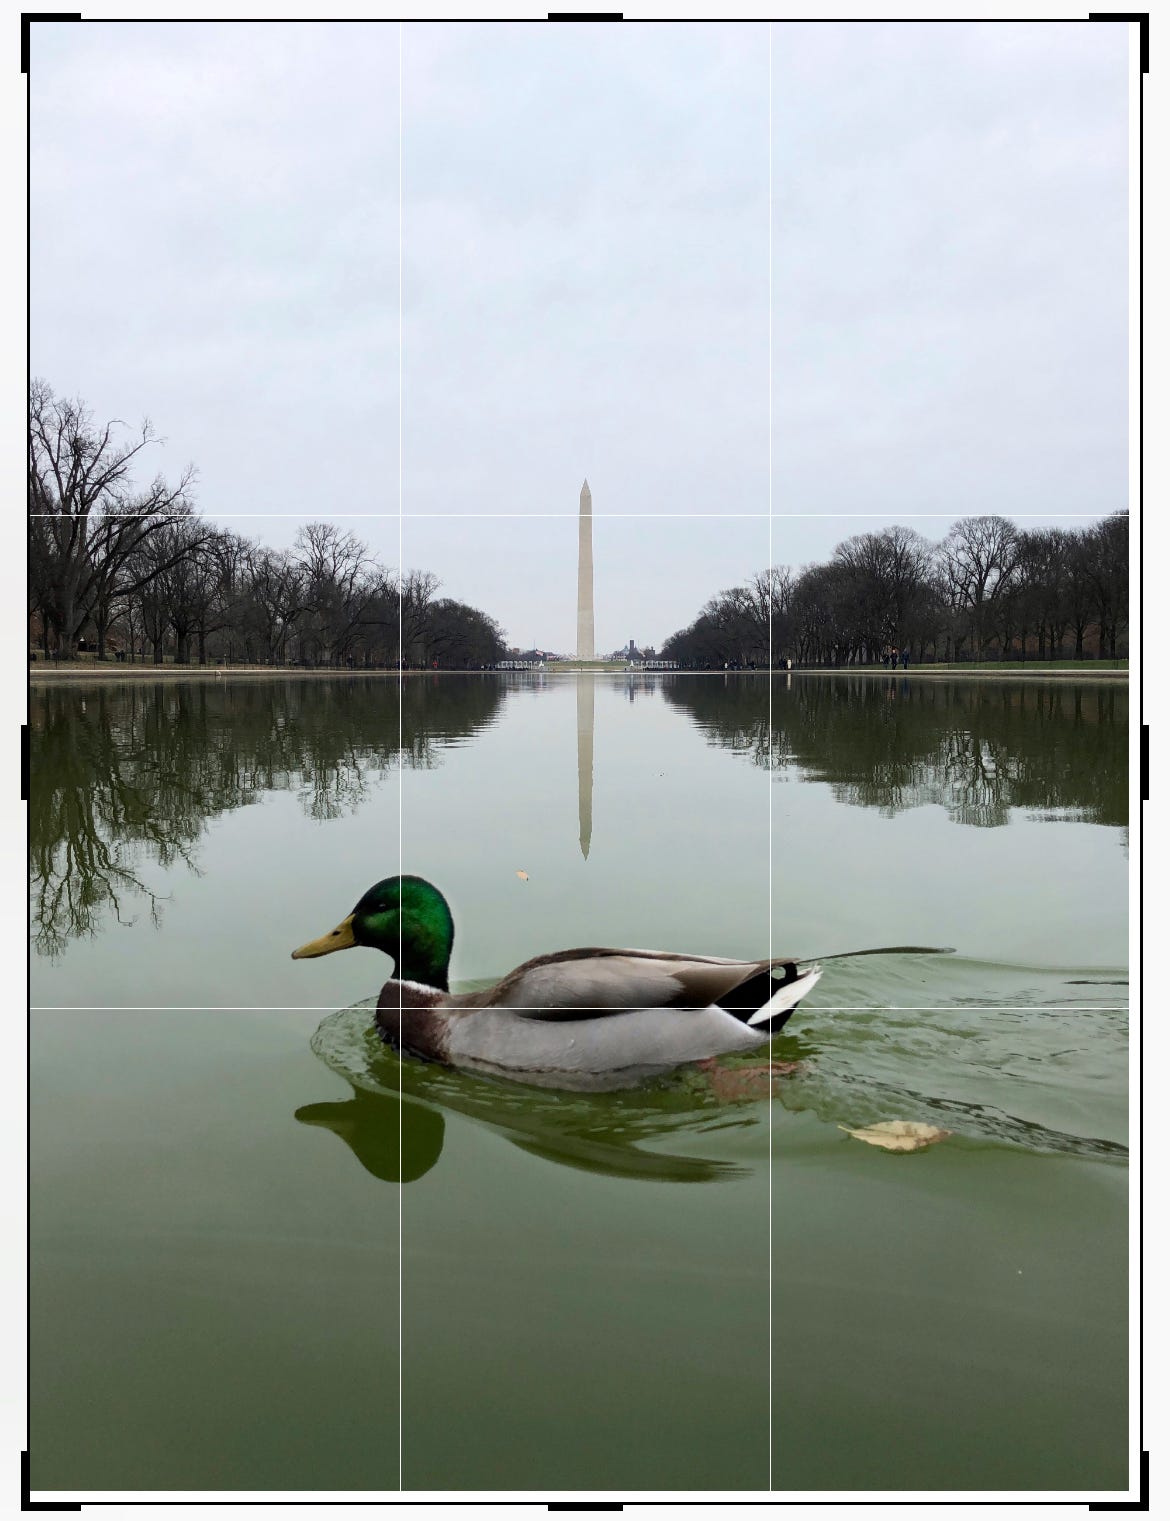
Here’s another good example of a photo that is intersting, and satisfies the rule of thirds, but not perfectly.
How to Turn on the Grid on Your iPhone Camera
Open your Settings
Scroll to Camera
Find the COMPOSITION section
Toggle Grid to “on” (green)
Voila. You’re ready to shoot with the visual cues with the Rule of Thirds.
Android users: Open your camera app, tap on settings (usually a gear icon), find "Grid lines," and switch them on.
How to Use the Gridlines
Instead of placing your subject dead-center, position it or him or her along these intersections or lines.
Photographing a friend? Place their eyes near an intersection.
Capturing a landscape? Align the horizon with one of the horizontal grid lines.
Try it next time you snap a photo. You'll be amazed at how quickly your shots go from good to great.
(And yes, wiping your lens helps too.)
Want to Go Deeper?
I learned almost all of what I know about iPhone photography because I took an online course from the iPhone Photography School. I found the lessons to be intersting and effective.
Thank you for reading!
Please comment below. Do you currently use the rule of thirds?
Feel free to connect with me on Facebook, Instagram, or Twitter.
If you would like to receive more articles like this one, then subscribe here on Substack.
If you enjoyed this article, please share it and my Substack with your friends and followers.
You may also be interested in a previous article I wrote:
The Fantastic Forrest Frank

This Monday, my wife Kerry and I had the privilege of experiencing Forrest Frank live at Red Rocks in Morrison, Colorado.